
The Art of the Mirror Shine
Share
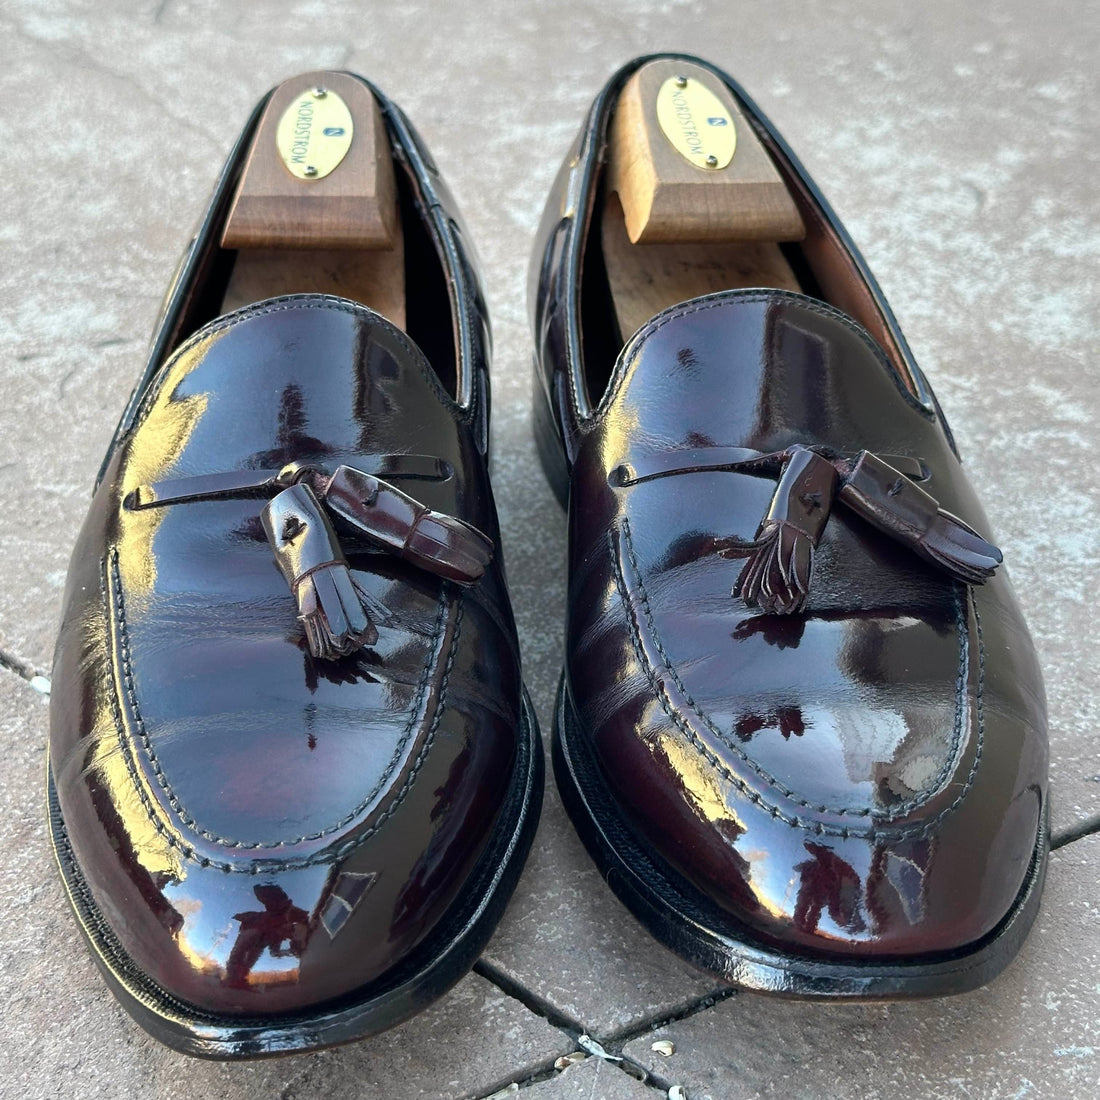
The Infamous Mirror Shine
The legendary mirror shine never fails to turn heads. That unmistakable gleam has captivated shoeshiners and enthusiasts alike, becoming a sought-after achievement for anyone chasing the perfect polish. But let’s be honest — it’s not an easy road. Many pursue it, few master it.
So how do you get to ShinaTown?
The path can be long, sometimes frustrating, but trust me — the payoff is worth every step.
The Rule: Less Is More.
When building a mirror shine, restraint is your best friend. The less wax you use with each layer, the finer, more glass-like the final result. There aren’t many shortcuts in this game. Sure, some people try speeding things up with heat guns or other tricks, but that often leads to irreversible damage — discoloration, grain separation, or melted synthetic materials. Not worth it.
The Foundation
A flawless shine starts with a flawless foundation. Begin with a thin layer of wax polish. I’ve tested countless brands over the years, and they each have their strengths. The key is experimenting to find what suits you and your style. If you prefer using your bare hands and don’t want to overwhelm the room with fumes, natural options like Pure Polish Products are a solid choice. If you're chasing perfection, consider High Shine Wax from Pure Polish, or the High-Shine Base and Coat from Boot Black.
Start at the tip of the toe box, where the welt meets the upper. Using your fingertip, apply a tiny amount of wax, spreading it smoothly in line with the welt, slightly overlapping as you work back. Once the toe box is covered, reload your fingertip with the smallest bit of wax and move to the sides of the shoe, where the upper meets the welt and midsole. Take this opportunity to hit the midsoles too — a little wax there gives a clean glaçage look to stacked leather heels.
Work your way to the heel, always applying the wax in thin, even layers. Starting at the toe box allows solvents in the wax to evaporate by the time you loop back, making it easier to polish out later. Be cautious not to apply wax where the shoe bends; hard wax like Carnauba can crack in flex points.
Keep applying light layers until you start feeling that satisfying tacky “squeak” between your fingers and the leather. At this stage, I like to give the hard sections of the shoe — toe and heel — a few gentle slaps with the palm of my hand. Think of it like swatting a bee off your knee: firm, but gentle. The heat helps the wax settle into the pores, building a dense, even surface. What you’re essentially doing is clogging those pores with refined layers of wax. Skip this step or rush it, and you risk an uneven, lumpy foundation. Remember: less is more.
The Shine Layer
Now comes the fun part. Ideally, let your foundation cure overnight. If you’re pressed for time, a few hours will do. Once hardened, wrap a clean cotton high-shine cloth around your pointer and middle finger, keeping it tight and crease-free. Dab a small bit of wax onto the cloth, add a drop of water, and start applying in small, overlapping circles or horizontal strokes.
As you work, gradually increase pressure as the surface smooths out and starts resembling glass. That tactile feedback is everything — you’ll feel the difference as it gets smoother.
The Finishing Touch
This final stage can test your patience, but don’t give up. If you notice any dull patches or unevenness, apply another tiny dab of wax to those areas using a quick, gentle tapping motion with your fingertip — slap that wax in there!
Continue applying minimal amounts of wax paired with occasional drops of water, using big, sweeping circles and long, straight polishing strokes. As the wax layers build, slow your movements and let the shine develop beneath your fingertips. If you’re working both shoes, this is a good moment to switch and start the foundation on the second shoe while the first one cures.
When in doubt — slap it out.
See you in #ShinaTown
And don’t forget your shades.